1.30.2012

If life deals you broken shadow, make lip gloss!

Have you ever had an eye shadow disaster? It may look something like this...


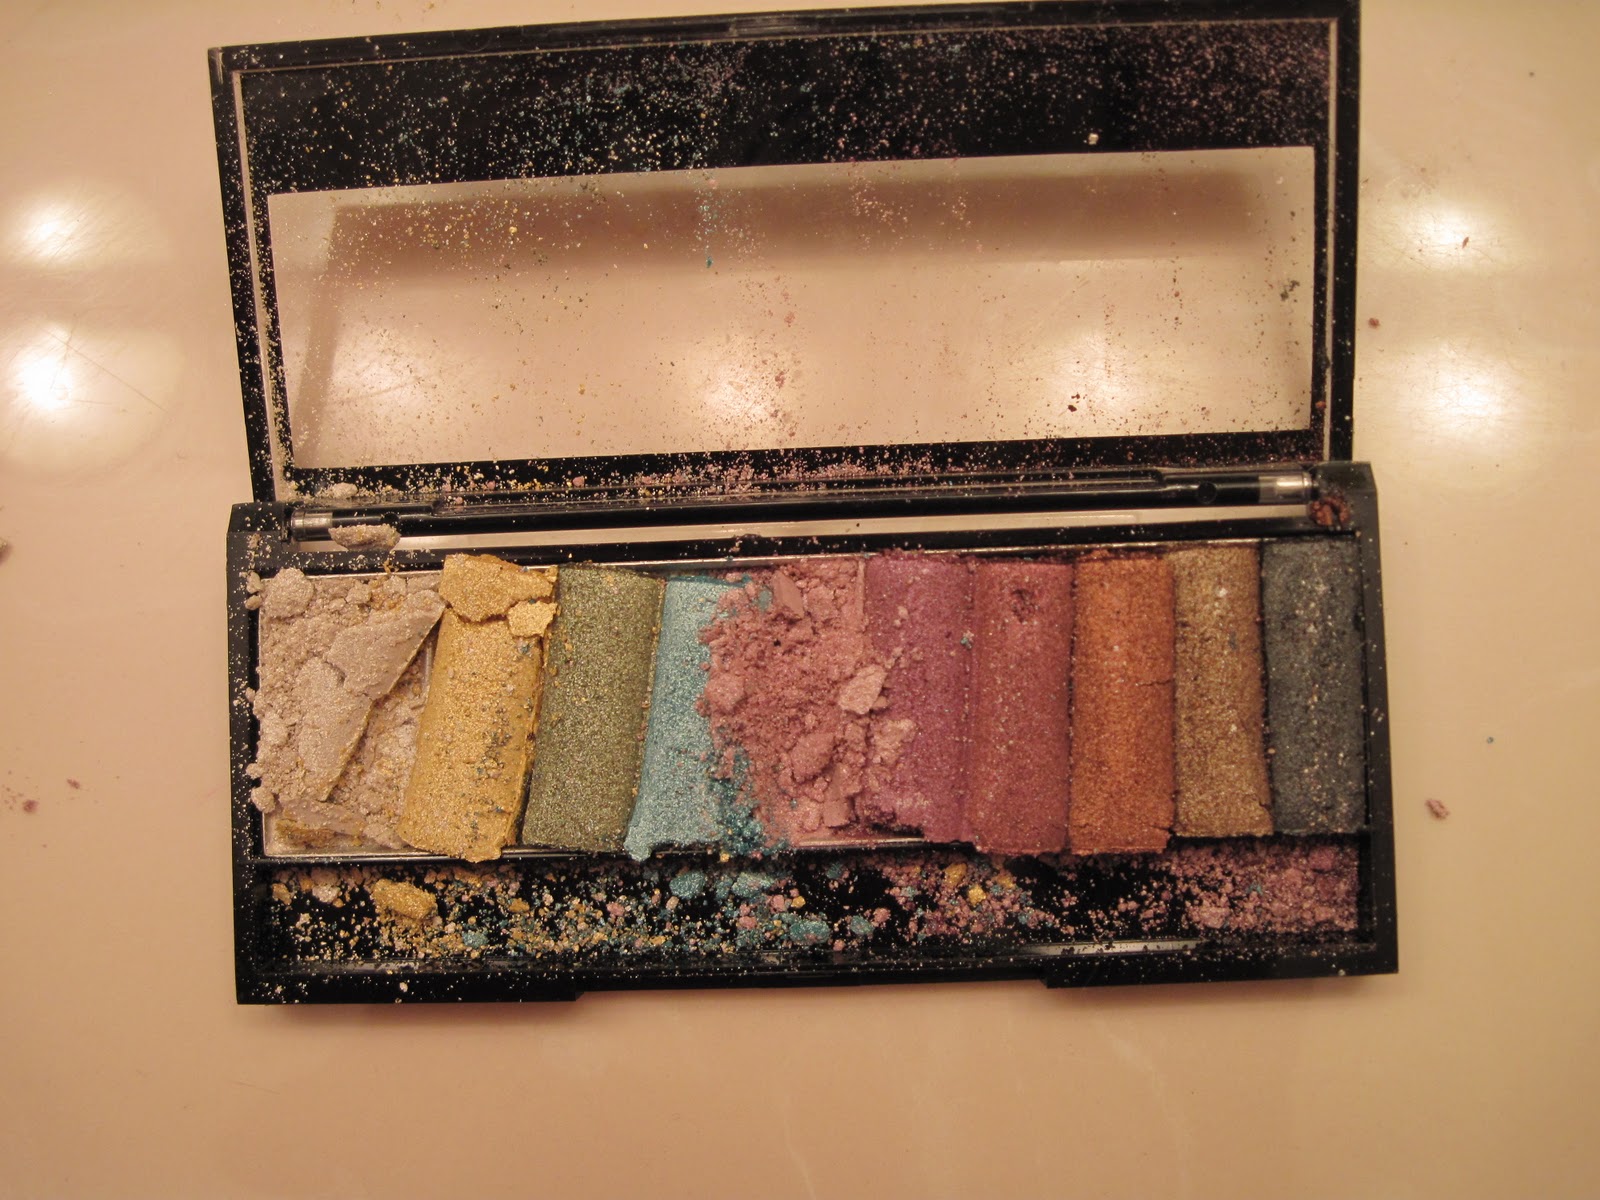
Even if you're not an optimist, I promise there's an upside to your shadow disaster!

YOU JUST GAINED A NEW LIP GLOSS!!! 

And actually, I find that powdered eye shadow can be even more pigmented than cake eye shadow, so even the darker colors can be put to good use! More on this in a bit...

What you'll need is:  
1. Pill container that has screw-tight lids (I got mine at The Container Store for $2, but you can find them anywhere).


2. Clean (unused) contacts container


3. Butter knife or spoon


4. Vaseline (or Un-Petroleum by Alba)
5. Q-tips


**As a general rule of thumb, your lighter, peachy or pinky-shimmery colors will work best as lip gloss, and your darkest colors best as powdered eye shadow. However, it's up to you to be creative - you can even mix and match!**


 Let's get started!

To make lip gloss:
1. Fill the contacts case halfway with vaseline.
2. Carefully let your loose shadow fall into the case, and mix with a q-tip. (This takes more pigment than you'd imagine to get the desired color, so it's better to use less vaseline than you'd think).


It's that easy!!! And now you can use the other side for another lip gloss color, and it's super easy to carry in your purse! You can always add more vaseline and pigment as it depletes too.


And now for your powdered eye shadow! 

If you've never used powdered eye shadow before, it's a great product when you want a lot of concentrated color. Just wet your eye shadow brush with a tiny bit of water before dipping into the pigment, and you'll have long-lasting, WOW-factor eye make-up!

Here are the steps;
1. Carefully transport your broken eye shadow (if it's in manageable pieces) to the pill container. (If it's already powder, just spoon it out). Use your butter knife or spoon to gently smash the pieces into powder!


And here is where your creativity juices can flow! I have mixed colors, such as this brown and purple combo below, it came out so pretty!!


Now I've turned my shadow disaster into new awesome make-up products to use, at almost zero cost!!
Here is the finished product of the broken shadows I combined:


Enjoy your new products, and have fun being creative!! The possibilities are endless :)


1.27.2012

My First How-To: Clean Your Make-Up Brushes

Quality make-up brushes are an amazing tool for putting on even and blended make-up; HOWEVER, if we don't take care of them (aka clean them!) they can hold a lot of bacteria and become a major culprit of acne break-outs. (Don't panic, read on!)

If you haven't cleaned your brushes in some time (or maybe never..) it's okay, you're going to learn an easy technique that will keep your brushes bacteria-free and in perfect shape for years! We should be thoroughly cleaning our brushes at least every two weeks!! In between you can do mini-cleansings with 91% isopropyl alcohol (found at your local drug store for cheap!).

Here are the tools you will need (besides your brushes):

1. Thin string or ribbon, and scissors (please be careful!)


2. Small rubber bands (these are Goody brand, you can find them at any drug store).


3.  You have two options to use as your cleanser:  Option A) gentle face cleanser, such as MyChelle Fruit Enzyme Cleanser


Or, option B) a combination of extra virgin olive oil and an anti-bacterial soap (these are just what I had in my kitchen).


The proportion of soap to olive oil you use should be 2 quarter-size drops of soap to 1 quarter-size drop of olive oil.

4. Lastly, you will need a towel rack or bar to dry your brushes. Why you may ask? Read on...


The best way to dry your brushes is upside down, so that no water gets held in the base of the brush which is bad for two reasons: 1) bacteria gets stuck and multiplies and 2) your bristles become loose and will eventually fall out (considering how expensive brushes are, this is not a good thing!!).

I have used tiny rubber bands connected to a piece of ribbon to store my brushes upside down on a towel rack, and it works splendidly!

Now you are ready to clean your brushes! Let's start:

First:  Cut and tie about 8" long pieces of string to your rubber bands, like so (tie a double knot so you can reuse these!):


Second:  Put some cleanser or anti-bacterial soap/olive oil combo in the palm of your hand. Take your brushes and gently swirl them in cleanser until they are soaked throughout. (Depending on how many brushes you're washing, you may need to add more cleanser as you go along).


Third:  Rinse your brushes with running water, and gently squeeze out the remaining soap as you go along. It's important to squeeze your brush in the shape similar to its natural state.

Lastly:  Put your rubber band on the base of the brush and tie to your towel rack!


It may take your brush up to 24 hours to dry, so don't do a big cleaning right before you get ready to go out! As a nice make-up break, I give myself an at-home facial treatment and do a little pampering while I take a mini break from make-up!

Now you have clean, fluffy, and bacteria-free brushes as well as very happy skin! If you have acne-prone skin and you haven't washed your make-up brushes in a while, I guarantee you'll see an improvement in your skin after a couple weeks!

Happy cleansing :). xoxo